
Why You'll Love It
- - No ice cream maker required, just a zip‑top bag
- - Ready in 5 minutes, perfect for spontaneous cravings
- - Clean‑up is minimal, just toss the salty water
- - Customizable flavors with pantry staples
*"I made this for my nieces and they begged for seconds—so easy and delicious!"*
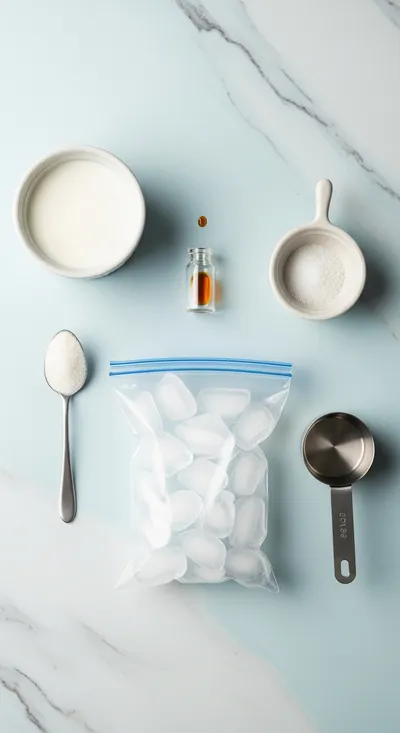
Essential Ingredient Guide
- Whole milk: Provides creaminess while keeping the mixture light; choose a fresh, chilled carton.
- Granulated sugar: Balances the dairy’s subtle sweetness; dissolve fully to avoid grainy texture.
- Vanilla extract: Adds aromatic warmth; a teaspoon is enough to perfume the whole batch.
- Rock salt (coarse): Essential for lowering the freezing point of the ice, creating that smooth churn.
- Fresh ice cubes: The bulk of the cooling medium; keep them well‑packed for even temperature.
- Optional mix‑ins (chocolate chips, fruit): Fold in after freezing for texture bursts without interfering with the churn.
Complete Cooking Process
-
Ingredient Readiness:
Measure milk, sugar, and vanilla into a small zip‑top bag; seal tightly, removing excess air.
-
Flavor Development:
The sugar dissolves as the bag is shaken with ice, allowing flavors to meld while the mixture cools.
-
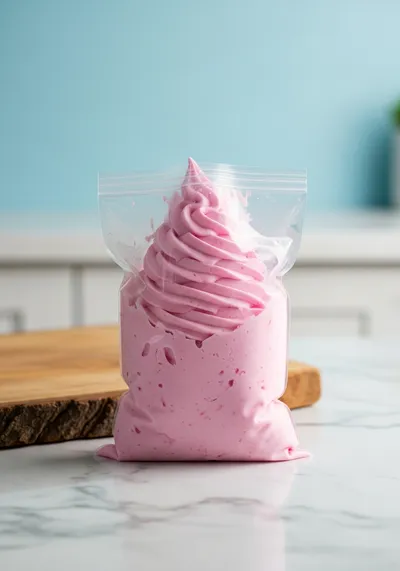
Texture Control:
Over the next few minutes, the icy slurry surrounding the inner bag freezes the mixture into a soft‑serve texture.
-
Finishing Touches:
Remove the inner bag, give it a gentle stir, and fold in any desired mix‑ins.
-
Serving Timing:
Serve immediately for a silky cold treat; the ice cream will soften slightly if left out.
- Use a sturdy double‑zip bag to avoid leaks during vigorous shaking.
- Add a splash of cream for extra richness if desired.
- Shake continuously for the first two minutes to speed up freezing.
Pro Tips
These small adjustments make a big difference. Remember, the key is consistent motion and a good seal; otherwise, the salty water can sneak into the ice cream. Taking a moment to double‑check the bag’s closure saves you from a soggy surprise.
The essence of the dish:
A fun fact or historical angle:
Flavor or sensory focus:
You Must Know
- Keep the outer bag packed tightly with ice and salt.
- Shake for at least 4‑5 minutes for proper set.
- Do not over‑fill the inner bag; leave room for expansion.
Frequently Asked Questions
→ Can I use dairy‑free milk?
Absolutely—almond, coconut, or oat milk work well; just note the texture may be slightly lighter.
→ Do I need rock salt specifically?
Coarse sea salt or kosher salt is fine; the larger crystals lower the temperature faster.
→ How long can I store the ice cream?
Transfer to an airtight container and keep it in the freezer for up to two days; it may firm up further.
→ Can I add chocolate chips?
Add them after the ice cream has set to avoid them sinking; a gentle fold preserves crunch.
→ Is the outer salty water safe?
It never contacts the inner bag if sealed properly; just discard after use.
→ What if the mixture doesn’t freeze?
Ensure the ice‑salt ratio is roughly 3:1 and shake continuously; colder ice helps.
Nutrition Facts
per serving
150
Calories
4g
Protein
22g
Carbs
5g
Fat
Taste Profile
A gentle vanilla sweetness with a creamy finish
Ingredient Substitutions
Don't have an ingredient? Try these alternatives
Use a full‑fat variety for best creaminess; adjust sugar slightly if the substitute is sweeter.
Use 1‑½ tbsp of liquid sweetener; it may add a subtle flavor nuance.
Recipe Variations
Try these delicious twists on the original
Chocolate Swirl
Stir in 2 tbsp cocoa powder and chocolate chips after freezing for a rich cocoa flavor.
Fruit Medley
Fold in diced strawberries and a splash of orange juice for a bright, fruity twist.
Common Mistakes to Avoid
Learn from others' mistakes for perfect results
- Using too little ice or salt, resulting in a soupy texture.
- Allowing the inner bag to leak, contaminating the ice cream with salty water.
- Stopping shaking too early, which prevents proper freezing.
Meal Prep & Storage
Make Ahead Tips
Mix the milk, sugar, and vanilla, then refrigerate the sealed bag up to 12 hours; shake with ice when ready to serve.
Leftover Ideas
Transfer the remaining ice cream to a small container and re‑freeze; let it soften at room temperature before scooping.
Perfect Pairings
Serve this with...
Cooking Timeline
Combine milk, sugar, and vanilla; seal inner bag.
Pack ice and rock salt into outer bag, nestle inner bag.
Shake continuously until the mixture thickens.
Remove inner bag, stir, add optional mix‑ins, and serve.
 Snacks & Appetizers
Easy Beef Empanadas
A step‑by‑step guide to making golden, flaky beef empanadas with simple pantry staples.
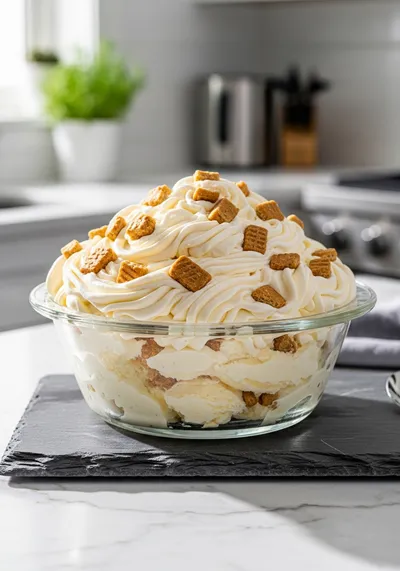
5 Minute Ice Cream in a Bag
A quick, creamy treat that turns a bag of ice and a few simple ingredients into a frosty delight. Perfect for summer evenings or spontaneous cravings, this 5‑minute ice cream in a bag is kid‑approved treat that brings smiles without the churn.
Timing
Prep Time
5 Minutes
Cook Time
5 Minutes
Total Time
10 Minutes
Recipe Details
Ingredients
Base Ice Cream
- 01 1 cup whole milk, chilled
- 02 2 tbsp granulated sugar
- 03 1 tsp vanilla extract
- 04 1 pinch of sea salt (optional, enhances flavor)
- 05 2 cups ice cubes
- 06 ½ cup rock salt
Instructions
Place the milk, sugar, vanilla, and a pinch of salt into a small zip‑top bag; seal tightly, pushing out excess air.
Fill a larger zip‑top bag halfway with ice cubes and rock salt; nest the smaller bag inside, ensuring it’s completely surrounded.
Shake the bag vigorously for 4‑5 minutes, feeling the chill transfer; Krispie ice cream inspiration can guide your rhythm.
Open the inner bag, give the ice cream a gentle stir, and if desired, fold in chocolate chips or fruit; serve immediately or freeze for firmer texture.
Notes & Tips
- 1 If the mixture feels too liquid after shaking, add a few extra minutes of shaking.
- 2 For a richer bite, replace half the milk with heavy cream.
- 3 Keep the outer bag away from children’s hands; the salt water is very cold.
 Snacks & Appetizers
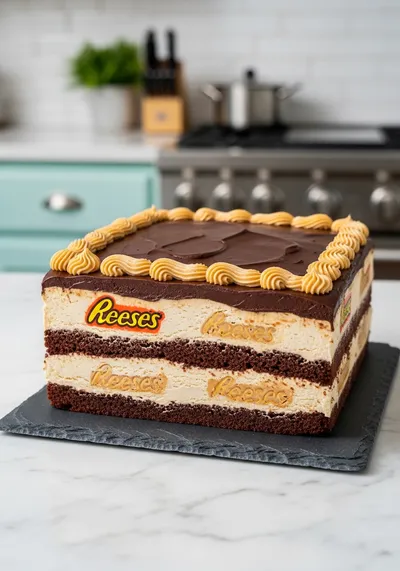
Reese's Peanut Butter Chocolate Icebox Cake
Creamy peanut butter meets chocolate in a quick, no‑bake icebox cake.
Tools You'll Need
-
Two zip‑top freezer bags (one small, one large)
-
Measuring cups and spoons
-
A sturdy cocktail shaker or your hands
-
A kitchen towel (to grip the bag)
-
Spoon for serving
Must-Know Tips
- Don’t overfill the inner bag; ice expands around it.
- Shake consistently; a steady rhythm speeds freezing.
- Use a towel to hold the outer bag; it will be slippery.
Professional Secrets
- Add a splash of cream for extra silkiness.
- Use coarse salt for a faster temperature drop.
- Seal the inner bag with a double zip for leak‑proof security.

Recipe by
AbigailAbigail is the culinary heart behind Your Website, where she blends professional expertise with a genuine love for home‑cooked goodness. A graduate of ...
Get Delicious Recipes Weekly
Join 25,000+ home cooks getting our best recipes straight to their inbox.
Free forever • No spam • Unsubscribe anytime