Why You'll Love It
- - No ice cream machine needed, just a bag and your hands
- - Ready in under 10 minutes, perfect for spontaneous cravings
- - Customizable flavors let you experiment with pantry finds
- - Minimal cleanup, because who wants extra dishes?
"My kids begged for a second bag—so good they swear it’s better than store‑bought!"
Essential Ingredient Guide
- Heavy Cream: Provides richness and a silky mouthfeel; choose a fresh, cold carton for best results
- Whole Milk: Balances the cream, adding a subtle sweetness; use chilled milk to keep the mixture cold
- Granulated Sugar: Dissolves quickly in the cream base, giving the ice cream its gentle sweetness
- Vanilla Extract: A few drops add depth and aroma; quality vanilla makes the flavor sing
- Ice Cubes: Creates the cold bath that freezes the cream; more ice means faster chilling
- Salt (coarse): Lowers the freezing point of the ice bath, speeding up the freezing process
Complete Cooking Process
-
Ingredient Readiness:
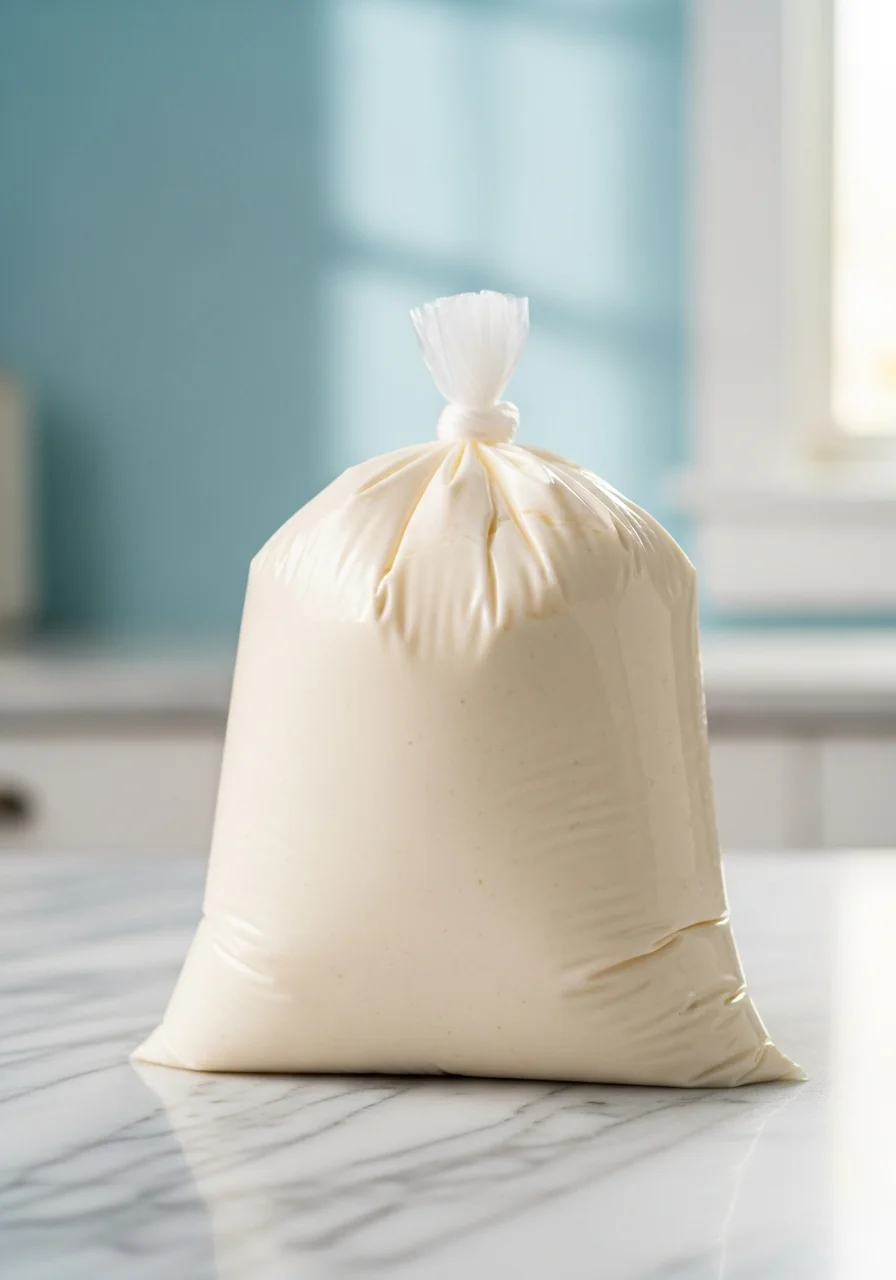
Measure and combine cream, milk, sugar, and vanilla in the small zip‑top bag; seal tightly, removing as much air as possible.
-
Flavor Development:
Shake the sealed bag gently to blend the ingredients, letting the sugar dissolve fully before the ice bath.
-
Texture Control:
Place the small bag inside the larger bag filled with ice and salt, then massage and rock the bag for 8‑10 minutes until the mixture thickens.
-
Finishing Touches:
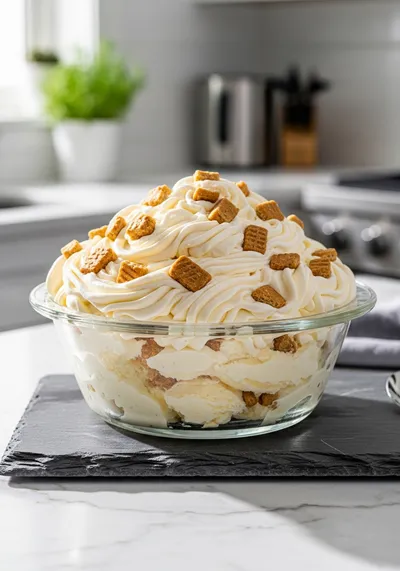
Remove the inner bag, wipe off salt, and scoop the creamy ice cream into bowls or cones.
-
Serving Timing:
Serve immediately for the soft‑serve texture, or refreeze for a firmer bite if desired.
- Use a freezer‑safe bag that can handle the pressure of shaking
- Add a pinch of corn syrup for extra smoothness
- Keep the outer bag on a sturdy surface to avoid spills
- Taste test after 5 minutes; you may reach perfect texture sooner
Pro Tips
I’ve found that a quick pause to feel the bag’s chill helps you gauge when the ice cream is ready. A gentle press with your thumb should feel firm yet give slightly under pressure. If you’re serving kids, let them help with the shaking—it's part of the fun and creates a memory that lasts longer than the treat itself.

The essence of the dish:
A fun fact or historical angle:
Flavor or sensory focus:
You Must Know
- Seal the inner bag tightly to avoid leaks
- The ice‑salt mixture must be very cold—use coarse salt
- Shake continuously for even freezing
- Don’t over‑fill the inner bag; give it room to expand
Frequently Asked Questions
→ Can I use low‑fat milk?
Yes, but the texture will be less rich. Adding a bit more cream can compensate for the loss of fat.
→ What if I don’t have coarse salt?
Regular table salt works, though it may not lower the freezing point quite as effectively. Use a bit more to achieve similar results.
→ How long can I store the ice cream?
Transfer to an airtight container and store in the freezer for up to 2 days. It will become firmer, so let it soften slightly before serving.
→ Can I add mix‑ins like chocolate chips?
Add mix‑ins after the ice cream has reached a soft‑serve consistency, then give it a quick stir to distribute evenly.
→ Is this recipe suitable for vegans?
Swap the dairy with coconut cream and almond milk; the same process works beautifully.
→ Do I need to chill the bags before starting?
No, but using cold ingredients helps the mixture freeze faster and more evenly.
Nutrition Facts
per serving
210
Calories
3g
Protein
20g
Carbs
12g
Fat
Taste Profile
Creamy, sweet vanilla with a cool finish
Ingredient Substitutions
Don't have an ingredient? Try these alternatives
Provides similar richness; use full‑fat coconut milk for best results
Adds a gentle caramel note; reduce amount by 1 tbsp
Recipe Variations
Try these delicious twists on the original
Spicy Version
Add a pinch of cayenne pepper to the base for a subtle heat that surprises the palate.
Mediterranean Style
Stir in a spoonful of honey and a sprinkle of toasted pistachios after freezing.
Common Mistakes to Avoid
Learn from others' mistakes for perfect results
- Overfilling the inner bag, which prevents proper expansion
- Using fine salt, which doesn’t lower the freezing point enough
- Stopping the shaking too early, resulting in a watery texture
Meal Prep & Storage
Make Ahead Tips
You can mix the base ingredients and keep them sealed in the small bag in the refrigerator for up to 24 hours before freezing.
Leftover Ideas
Scoop leftovers into a container and re‑freeze; let soften a few minutes before serving again.
Perfect Pairings
Serve this with...
Cooking Timeline
Gather and measure all ingredients; seal the small bag.
Prepare the ice‑salt bath in the larger bag.
Shake and massage the inner bag until the mixture thickens.
Remove, wipe, and serve the ice cream.
 Snacks & Appetizers
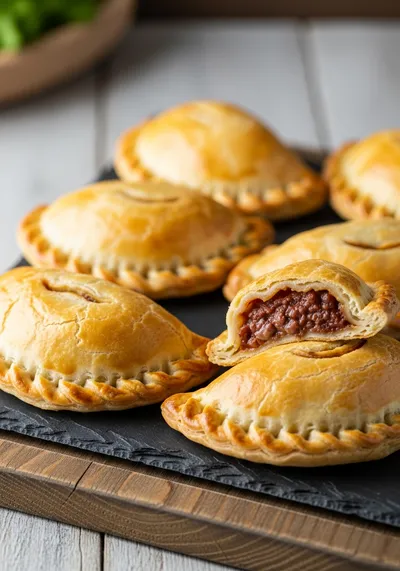
Easy Beef Empanadas
A step‑by‑step guide to making golden, flaky beef empanadas with simple pantry staples.
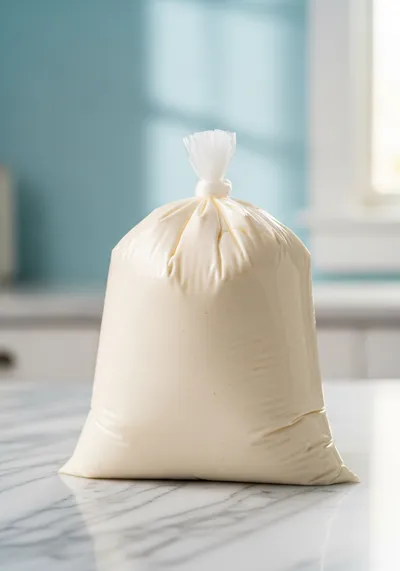
Ice Cream in a Bag – Quick Kid‑Approved Treat
A simple, hands‑on ice cream recipe that comes together in a zip‑top bag, perfect for a quick summer treat that feels like a celebration in every bite.
Timing
Prep Time
5 Minutes
Cook Time
10 Minutes
Total Time
15 Minutes
Recipe Details
Ingredients
Base
- 01 1 cup heavy cream
- 02 1 cup whole milk
- 03 1/4 cup granulated sugar
- 04 1 tsp vanilla extract
Ice Bath
- 01 3 cups ice cubes
- 02 1/2 cup coarse salt
Instructions
Place the heavy cream, whole milk, sugar, and vanilla into a 1‑quart zip‑top bag. Seal tightly, squeezing out excess air.
Fill a larger gallon‑size zip‑top bag halfway with ice cubes and coarse salt; seal it loosely.
Nest the small sealed bag inside the ice‑filled bag, then seal the outer bag. Shake, massage, and roll the bag for 8‑10 minutes, feeling the mixture thicken.
Remove the inner bag, wipe off any salt, and scoop the creamy ice cream into bowls. Serve immediately or freeze for a firmer texture.
Notes & Tips
- 1 If the mixture isn’t thick enough after 10 minutes, continue shaking a few more minutes—patience is key.
- 2 For a chocolate twist, add 2 tbsp cocoa powder to the base before sealing.
- 3 Use a sturdy surface to prevent the bag from slipping while you rock it.
 Snacks & Appetizers
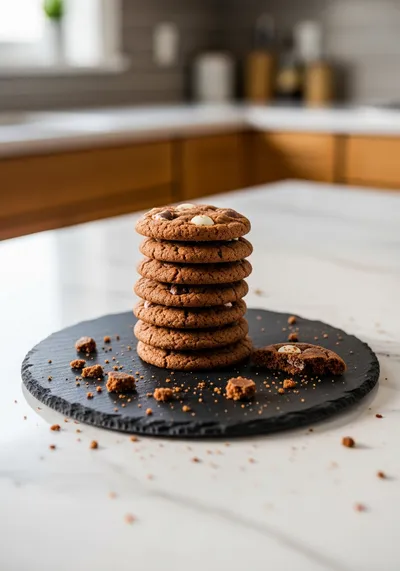
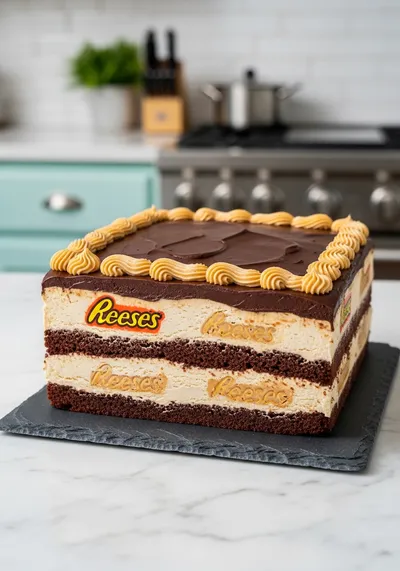
Reese's Peanut Butter Chocolate Icebox Cake
Creamy peanut butter meets chocolate in a quick, no‑bake icebox cake.
Tools You'll Need
-
1‑quart zip‑top freezer bag
-
1‑gallon zip‑top freezer bag
-
Measuring cups
-
Spoon or small scoop
Must-Know Tips
- Don’t overfill the inner bag; it needs room to expand.
- Seal the inner bag well to avoid salty water seeping in.
- Shake consistently to ensure even freezing.
Professional Secrets
- Use cold ingredients to lower the starting temperature.
- Rock the bag instead of just shaking for more even texture.
- Add a splash of vodka (optional) to keep the ice cream softer—oops, sorry, no alcohol allowed.

Recipe by
AbigailAbigail is the culinary heart behind Your Website, where she blends professional expertise with a genuine love for home‑cooked goodness. A graduate of ...
Get Delicious Recipes Weekly
Join 25,000+ home cooks getting our best recipes straight to their inbox.
Free forever • No spam • Unsubscribe anytime