Why You'll Love It
- - No oven needed, perfect for hot days
- - Crunchy Oreo base balances silky ice cream
- - Quick assembly saves you time
- - Adaptable with flavor twists
*"I made this for a potluck and everyone kept asking for seconds—so simple, yet impressive!"*
Essential Ingredient Guide
- Oreo cookies: Use full‑size chocolate‑and‑cream Oreos; they provide the perfect balance of sweetness and crunch. Slightly crush them for texture.
- Vanilla ice cream: Choose a high‑quality, creamy vanilla ice cream. Let it soften just enough to spread easily.
- Butter: Melted butter helps bind the cookie crumbs into a firm crust that holds its shape.
- Sugar: A tablespoon of sugar enhances the sweetness without making the crust gritty.
- Lime zest (optional): A hint of citrus brightens the flavor and cuts through the richness.
- Chocolate ganache (optional): Drizzle for an extra indulgent finish; it adds depth and shine.
Complete Cooking Process
-
Ingredient Readiness:
Gather all cookies, melt the butter, and let the ice cream sit out for a few minutes so it’s spreadable.
-
Flavor Development:
Crush the Oreos and mix with butter and sugar, letting the aromas of chocolate fill the kitchen.
-
Texture Control:
Press the crumb mixture firmly into a springform pan, creating an even crust that won’t crumble.
-
Finishing Touches:
Layer softened ice cream, smooth the top, and optionally swirl in a bit of chocolate ganache.
-
Serving Timing:
Freeze the cake for at least 3 hours, then let it sit 10 minutes before slicing for clean cuts.
- Freeze the crust a few minutes before adding ice cream to keep it firm
- Use a spatula warmed in hot water for smooth layers
- Top with crushed Oreos just before serving for extra crunch
- Add a splash of smoothies flavored syrup for a playful twist
Pro Tips
Well, I’ve found that letting the cake rest at room temperature for a short while makes cutting easier and the flavors meld together nicely. It’s a little pause, a moment to appreciate the scent of chocolate and vanilla before the first bite. And yes, you can always garnish with fresh berries or a drizzle of caramel if you feel like adding that extra sparkle.
The essence of the dish:
A fun fact or historical angle:
Flavor or sensory focus:
You Must Know
- Work quickly once the ice cream softens
- Press the crust firmly for stability
- Store the cake frozen until ready to serve
Frequently Asked Questions
→ Can I use a different ice cream flavor?
Absolutely! Chocolate, mint, or even coffee ice cream work beautifully; just adjust the garnish to match.
→ How long can I keep the cake frozen?
The cake stays fresh for up to two weeks in the freezer; wrap it tightly in plastic wrap.
→ Do I need a springform pan?
A springform pan makes removal easy, but a regular cake pan lined with parchment works too.
→ Can I make this dairy‑free?
Yes—swap the ice cream for a coconut‑based frozen dessert and use a plant‑based butter.
→ What’s a good topping?
A drizzle of chocolate ganache, extra crushed Oreos, or a sprinkling of toasted coconut adds texture.
→ Is this suitable for kids?
Definitely; it’s sweet, simple, and fun to eat—just watch for any nut allergies if you add toppings.
Nutrition Facts
per serving
410
Calories
6g
Protein
45g
Carbs
22g
Fat
Taste Profile
A sweet, creamy dessert with chocolate crunch.
Ingredient Substitutions
Don't have an ingredient? Try these alternatives
Will give a slightly milder chocolate flavor.
Creates a dairy‑free version with a subtle coconut hint.
Recipe Variations
Try these delicious twists on the original
Spicy Version
Add a pinch of chili powder to the crust and swirl a little chocolate hazelnut spread into the ice cream.
Mediterranean Style
Mix in finely chopped pistachios and a dash of orange zest for a bright, nutty twist.
Common Mistakes to Avoid
Learn from others' mistakes for perfect results
- Over‑mixing the crust, resulting in a soggy base.
- Letting ice cream melt too much before spreading.
Meal Prep & Storage
Make Ahead Tips
You can crush the cookies and mix the crust up to 2 days ahead; keep refrigerated. Ice cream can be softened the night before.
Leftover Ideas
Slice remaining cake and store in an airtight container in the freezer; let thaw slightly before serving.
Perfect Pairings
Serve this with...
Cooking Timeline
Crush cookies, melt butter, and combine for crust.
Press crust into pan, then spread softened ice cream.
Add optional ganache, garnish, and place cake in freezer.
Freeze until firm, then slice and serve.
 Snacks & Appetizers
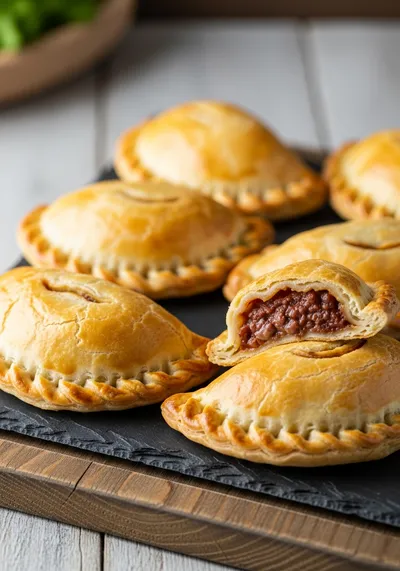
Easy Beef Empanadas
A step‑by‑step guide to making golden, flaky beef empanadas with simple pantry staples.

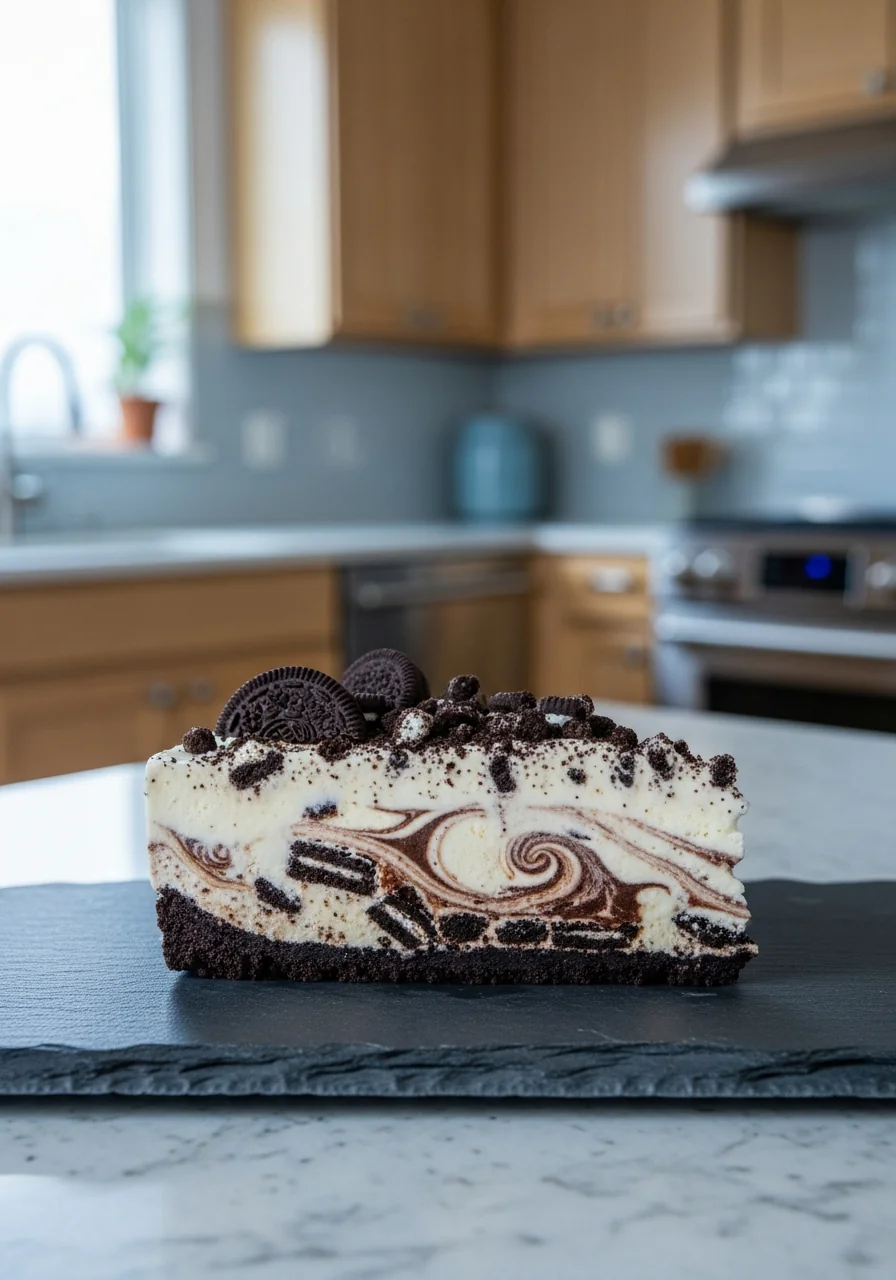
Quick & Easy Oreo Ice Cream Cake
Indulge in a no‑bake Oreo Ice Cream Cake that feels like a soft, cool hug—creamy vanilla ice cream swirled with crunchy chocolate cookie crumbs, all layered between a buttery Oreo crust. It’s a quick, crowd‑pleasing dessert that whispers of childhood snack carts and late‑night cravings.
Timing
Prep Time
15 Minutes
Cook Time
0 Minutes
Total Time
15 Minutes
Recipe Details
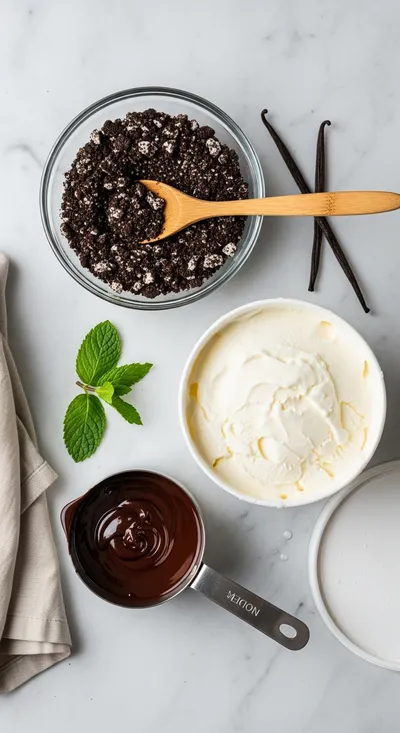
Ingredients
Crust
- 01 24 Oreo cookies, finely crushed
- 02 3 tbsp melted butter
- 03 1 tbsp sugar
Filling
- 01 1 ½ quarts vanilla ice cream, softened
- 02 1 tsp lime zest (optional)
- 03 ¼ cup chocolate ganache (optional)
Instructions
Place the crushed Oreos in a bowl, stir in melted butter and sugar until the mixture feels like wet sand.
Press the crumb mixture firmly into the bottom of a 9‑inch springform pan, creating an even layer.
Spread the softened vanilla ice cream over the crust, smoothing the top with a warm spatula.
If using, drizzle chocolate ganache over the ice cream and sprinkle extra crushed Oreos on top.
Freeze the cake for at least 3 hours, then remove from the pan, slice, and serve.
Notes & Tips
- 1 For a firmer crust, chill the pressed base for 10 minutes before adding ice cream.
- 2 If the ice cream feels too hard, let the cake sit at room temperature for 5 minutes before slicing.
- 3 Feel free to experiment with flavored ice creams or add a swirl of caramel.
 Snacks & Appetizers
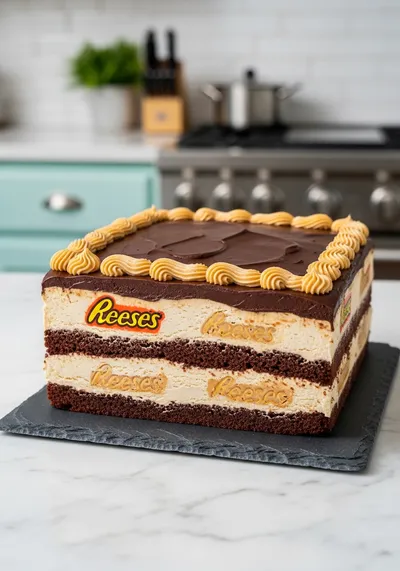
Reese's Peanut Butter Chocolate Icebox Cake
Creamy peanut butter meets chocolate in a quick, no‑bake icebox cake.
Tools You'll Need
-
Springform pan
-
Food processor or zip‑top bag
-
Spatula
-
Measuring spoons
-
Freezer-safe container
Must-Know Tips
- Don’t over‑mix the crumb base; just enough to coat with butter.
- Work quickly once the ice cream softens to keep the cake cold.
- Use a warm spatula for a smooth ice cream surface.
Professional Secrets
- Melted butter at room temperature binds crumbs better.
- Press the crust with the back of a spoon for even pressure.
- Cover the cake tightly with plastic wrap to prevent ice crystals.

Recipe by
AmeliaAmelia is the culinary heart behind Your Website, where she blends her love for home‑cooked comfort with a knack for innovative recipe development. Wi ...
Get Delicious Recipes Weekly
Join 25,000+ home cooks getting our best recipes straight to their inbox.
Free forever • No spam • Unsubscribe anytime