Why You'll Love It
- - Minimal effort, no baking required
- - Creamy texture balanced by crunchy crust
- - Versatile for toppings or mix‑ins
- - Perfect for gatherings or quiet evenings
“I made this for a quick family snack and everyone devoured it in minutes—so simple, so delicious!”
Essential Ingredient Guide
- Oreo cookies: Use full‑fat cookies for a richer crust; crush them fine for even binding.
- Butter: Melted butter holds the crust together; keep it warm while mixing.
- Cream cheese: Room‑temperature cheese blends smoothly, preventing lumps.
- Whipped cream: Folded gently for airy lightness; stabilize with a pinch of sugar.
- Vanilla extract: A splash brightens the sweet flavor without overpowering.
- Granulated sugar: Just enough to sweeten the filling without making it cloying.
Complete Cooking Process
-
Ingredient Readiness:
Gather cookies, melt butter, and soften cream cheese before you start; this keeps the process smooth.
-
Flavor Development:
Blend the filling ingredients until glossy; the vanilla and sugar meld while the cream cheese stays silky.
-
Texture Control:
Press the crust evenly, then chill; this firms the base while keeping a slight crunch.
-
Finishing Touches:
Top with extra crushed Oreos or a drizzle of chocolate just before serving.
-
Serving Timing:
Allow the pie to sit refrigerated for at least 30 minutes so flavors set and the crust firms.
- Use a food processor for uniform cookie crumbs.
- Don’t over‑mix the filling; a gentle fold keeps it light.
- Chill the crust for 10 minutes before adding filling to prevent sogginess.
- Serve with a dollop of whipped cream for extra elegance.
Pro Tips
Well, those little details can make a big difference. I remember once forgetting to chill the crust, and it turned into a mushy mess—so I always set a timer. After you’re done, let the pie rest; the flavors settle into a comforting harmony that’s exactly what you want.
The essence of the dish:
A fun fact or historical angle:
Flavor or sensory focus:
You Must Know
- Cool the crust before adding filling
- Use room‑temperature cream cheese
- Fold whipped cream gently
Frequently Asked Questions
→ Can I make this pie gluten‑free?
Yes—substitute gluten‑free chocolate cookies for the Oreos and use a gluten‑free butter alternative.
→ How long can the pie be stored?
Keep it refrigerated in an airtight container; it stays fresh for up to 3 days.
→ Can I add chocolate chips to the filling?
Absolutely; fold in a handful of mini chocolate chips for extra texture.
→ Do I need to chill the crust before adding filling?
A short 10‑minute chill helps the crust set and prevents it from getting soggy.
→ What can I use instead of cream cheese?
Greek yogurt mixed with a little mascarpone creates a lighter version.
→ Is this pie suitable for kids?
Yes, it’s sweet and soft; just watch for any dairy allergies.
Nutrition Facts
per serving
320
Calories
5g
Protein
30g
Carbs
20g
Fat
Taste Profile
Sweet, buttery, and creamy with a subtle vanilla note
Ingredient Substitutions
Don't have an ingredient? Try these alternatives
Adjust sweetness if using plain yogurt.
Will change flavor slightly but still provide crunch.
Recipe Variations
Try these delicious twists on the original
Chocolate Drizzle
Melt chocolate and drizzle over the top before chilling for a richer flavor.
Berry Burst
Layer fresh sliced strawberries between the crust and filling for a fruity twist.
Common Mistakes to Avoid
Learn from others' mistakes for perfect results
- Over‑mixing the filling, resulting in a grainy texture.
- Skipping the chill for the crust, leading to a soggy base.
- Using cold cream cheese, which creates lumps.
Meal Prep & Storage
Make Ahead Tips
You can prepare the crust and filling up to 24 hours ahead; keep them separate and assemble just before serving.
Leftover Ideas
Reheat gently in the microwave for 15 seconds if you prefer a softer crust, or enjoy cold straight from the fridge.
Perfect Pairings
Serve this with...
Cooking Timeline
Crush cookies, melt butter, and combine for crust.
Press crust into pan and refrigerate.
Beat cream cheese, sugar, vanilla; fold in milk.
Whip cream and fold into filling.
Spread filling, add toppings, chill at least 30 minutes.
 Snacks & Appetizers
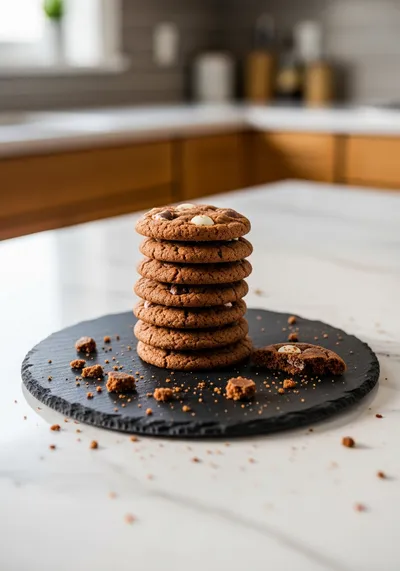
Easy Beef Empanadas
A step‑by‑step guide to making golden, flaky beef empanadas with simple pantry staples.

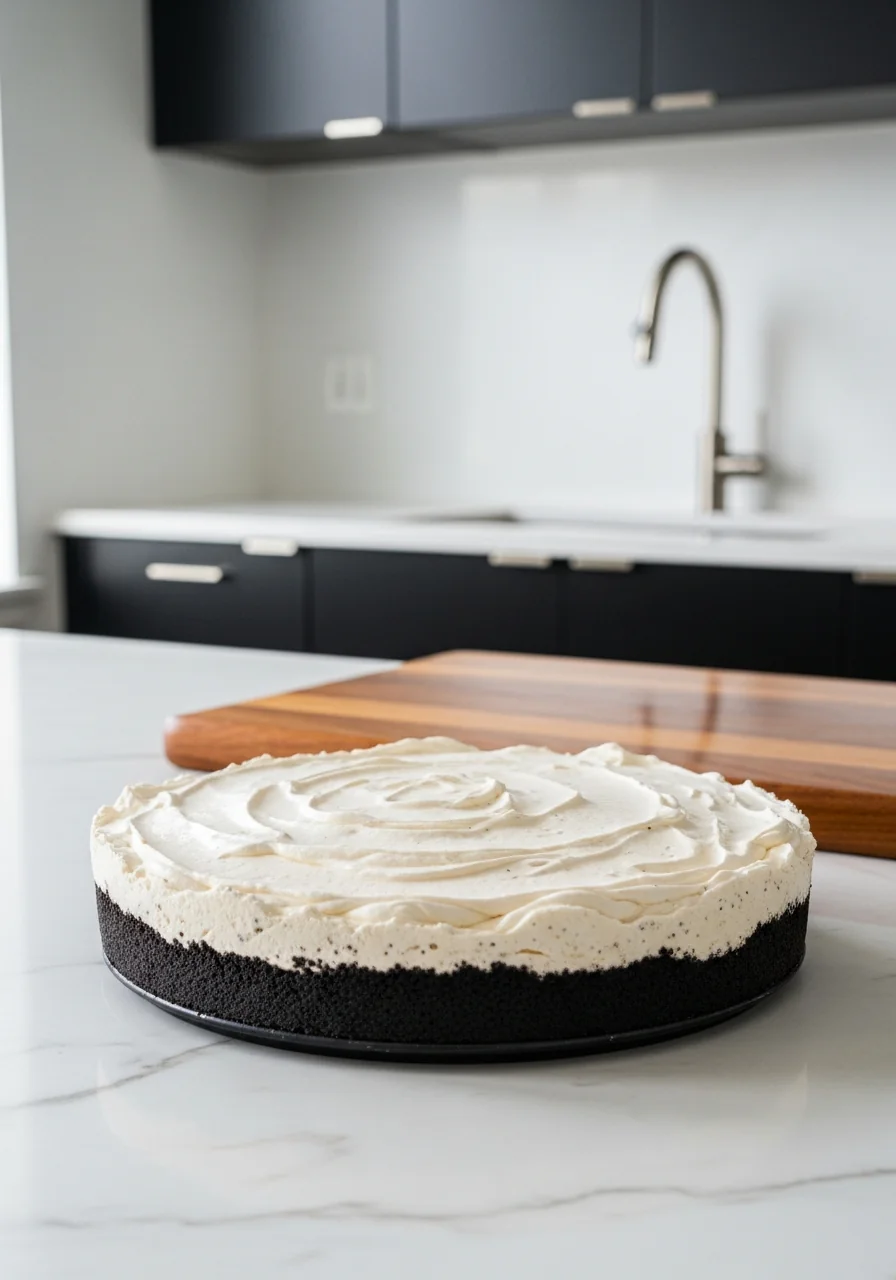
Easy Oreo Pie
Discover a quick, no‑bake Oreo pie that’s creamy, crunchy, and perfect for a comforting snack any time of day.
Timing
Prep Time
10 Minutes
Cook Time
0 Minutes
Total Time
10 Minutes
Recipe Details
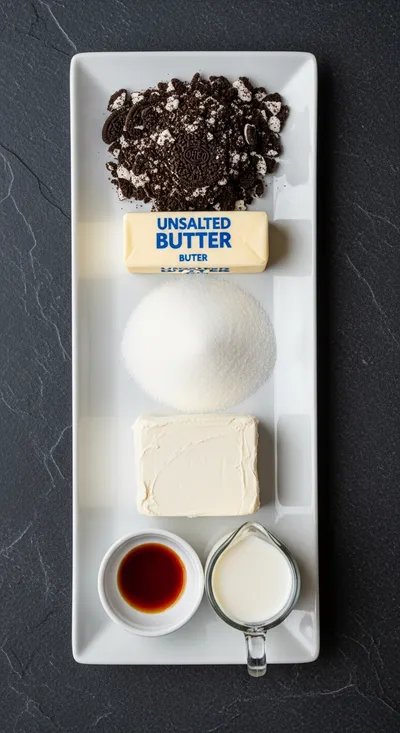
Ingredients
Crust
- 01 2 cups Oreo cookies, finely crushed
- 02 5 tbsp melted butter
Filling
- 01 8 oz cream cheese, softened
- 02 1/2 cup powdered sugar
- 03 1 tsp vanilla extract
- 04 1 cup heavy whipping cream
- 05 2 tbsp milk
Topping
- 01 Extra Oreo cookies, crushed (optional)
- 02 Chocolate shavings (optional)
Instructions
Place the crushed Oreos in a bowl, pour the melted butter over them, and stir until evenly coated.
Press the crumb mixture firmly into the bottom of a 9‑inch pie pan to form an even crust; refrigerate for 10 minutes.
In a mixing bowl, beat the softened cream cheese, powdered sugar, and vanilla until smooth; gradually add milk to loosen the mixture.
Whip the heavy cream until soft peaks form, then fold it gently into the cream cheese mixture.
Spread the filling over the chilled crust, smooth the top, and sprinkle with extra crushed Oreos or chocolate shavings if desired.
Refrigerate the assembled pie for at least 30 minutes before slicing and serving.
Notes & Tips
- 1 Make sure the butter is not too hot; it should be warm but not scorching.
- 2 For a firmer crust, increase the butter by 1‑2 tbsp.
- 3 Feel free to add a dash of espresso powder to the filling for a subtle coffee note.
 Snacks & Appetizers
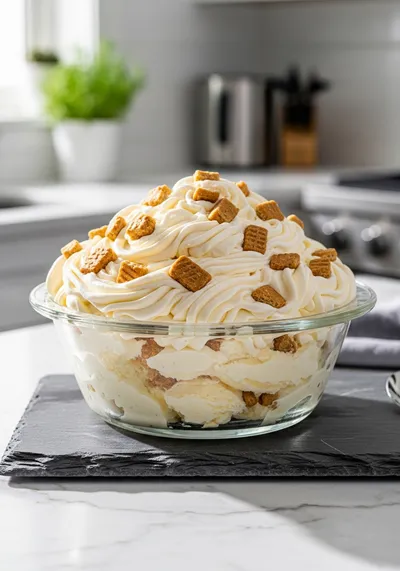
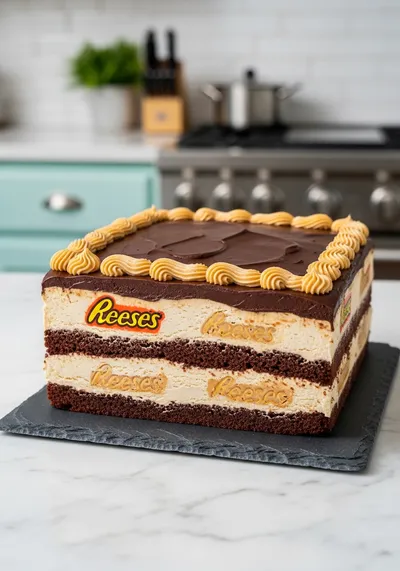
Reese's Peanut Butter Chocolate Icebox Cake
Creamy peanut butter meets chocolate in a quick, no‑bake icebox cake.
Tools You'll Need
-
Food processor or plastic bag and rolling pin
-
9‑inch pie pan
-
Mixing bowls
-
Hand mixer or stand mixer
-
Spatula
-
Refrigerator
Must-Know Tips
- Don’t over‑mix the filling; it can become grainy.
- Chill the crust before adding the filling to avoid sogginess.
- Fold whipped cream gently to keep the filling airy.
Professional Secrets
- Room‑temperature cream cheese integrates smoothly, avoiding lumps.
- Use a light hand when folding to preserve volume.
- Press the crust firmly but not compactly; this ensures a clean edge.

Recipe by
AmeliaAmelia is the culinary heart behind Your Website, where she blends her love for home‑cooked comfort with a knack for innovative recipe development. Wi ...
Get Delicious Recipes Weekly
Join 25,000+ home cooks getting our best recipes straight to their inbox.
Free forever • No spam • Unsubscribe anytime